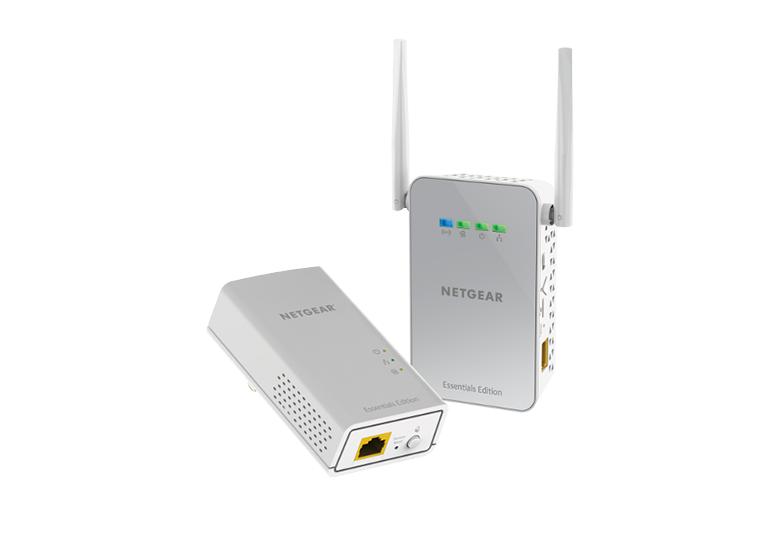
If you want to setup a new extender at your home, so this article is only for you. In this article, we will learn step-by-step how to complete new extender setup.
First of all, it is
very important where the extender is placed. The distance between router and
the extender should not be too much far away. For example, if you live in a
three-story house and your router is placed on the ground floor, then the
perfect place for extender is on the second floor. Let’s start setting up your
new Netgear extender via different methods;
Setup Using WPS (WiFi Protected Setup)
The easiest way to setup your Netgear extender is by using
WPS. A WPS button is on both your router and extender. First, turn on your
router and press WPS button, and within 2 minutes, turn on your extender and
press WPS button. There is another method to connect extender to router via
Ethernet cable;
Setup WiFi Extender Using Ethernet Cable
You can directly
connect your WiFi extender to your router with Ethernet cable. Steps are
1. Connect extender to the router with Ethernet cable. There
is a LAN port on router and Extender Ethernet port or WAN port.
2. Plug in your
extender in the electric switch and turn on your extender.
4. Connect the
computer and mobile device to a network named Netgear_Ext.
5. Then, open an internet browser and visit mywifiext.net for
Windows and mywifiex.local for Mac and Linux.
Further steps are given below.
Configure Your Netgear Extender
• Connect Your Device
to Extender WiFi
After turn on the extender, connect your computer or mobile
device with the extender WiFi network. The extender WiFi default name (SSID) is
"Netgear-Ext.” The password is same as “password” (more detail about
username and password check manual). Your device receives a warning like the
internet is not available. But you still connected with the extender's WiFi.
• Open a Browser
If you are using Windows, then visit mywifiext.net in your
browser. But if you are using Mac or Linux, then visit mywifiext.local. A login
page will open. Now you can enter your login details, username, and password.
After entering the login credential, the mywifiext dashboard will open on your
computer web browser.
• Select Network Bands
When the dashboard opens, you will see two buttons. The first
one is the WiFi Range Extender and Access Point. Click on the WiFi range
extender option. A list of 2.5 GHz and 5 GHz band networks will open there.
Now, you can select any frequency band, according to your area of living.
You can select dual band or select among one band from 2.4
GHz and 5 GHz. The difference between 2.4GHz and 5GHz frequencies is that the
2.4GHz band provides a longer range but transmits data at a lower speed, and
the 5GHz band provides less coverage but transmits data at a fast speed.
• Enter Network Key
After selecting your
network bands, press Enter, and it will ask for a password (network key) for
each network band. After enter the password, click on continue button. The
router’s band allows you to enter new new SSID and password.
• Connect Your Device
with Extender WiFi
Unplugged your
extender and plug in to a low-network area. Now you can connect your computer
or mobile device with the extender by using a new password (network key). Now,
your extender is expanding your network.
Conclusion
Above, you have learned how to setup a new Netgear Extender. If you follow all the steps, your setup should provide a better network range to a specific space.

