
A WiFi extender is also called range extender. Extender helps in covering the range of your existing WiFi network by enhancing the signal from your router. It is designed in such way that improves the signal and strength in areas of your home where network is poor.
Installing extender in your house provides you best coverage and it has many
features like:
Improves WiFi Range: It extends the range of your existing WiFi network.
Maintains the Same Network: It allows you to stay connected to the same
network, or it might create an extended network with a slightly different name.
Support Multiple Devices: You can connect many devices with extender at once,
if your extender model supports.
WiFi extenders are simple solutions to improve your WiFi network and help you
to stay connected all around your house. Here is how we can setup WiFi
Extender:
Steps To Follow For Extender Setup
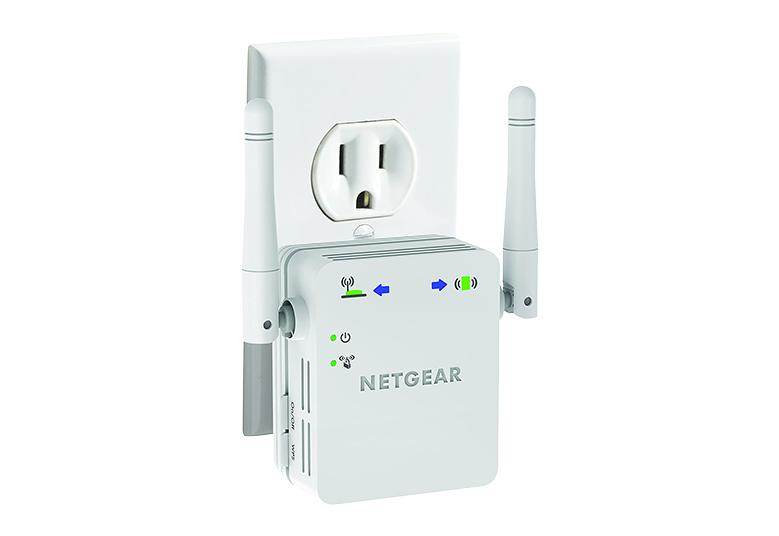
1. First step
is to plug in your extender into a wall socket. After that wait for the power
light to turn on to make sure that it’s powered on.
2.
Now, you
have to connect your extender with router and for that there are two ways to do
it.
WPS
·
You will
see a WPS button on both your router and extender.
·
Firstly,
press the WPS button on your router and within two minutes press the WPS button
on your WiFi extender. The devices will automatically sync.
·
To confirm
whether the router and extender is sync or not, look for a confirmation light
on the extender that shows it is successfully connected. Mostly light is solid
green color.
Manually
·
You have
to use your computer, tablet or smartphone to connect with extender default
WiFi network.
·
Go to WiFi
settings of your device (Computer, laptop or Mobile) to connect. Then list of
WiFi networks will display to you. Select your extender WiFi, it named
something as the brand name of your extender along with ‘_EXT’.
·
Now, open
a web browser and type the IP address 192.168.10.1 in an address bar.
After that log in with the default username and password which is generally
admin and password.
3.
Once you
are logged in to the extender admin page then follow the setup wizard for
configuration.
Select your existing WiFi network from the list of available networks. Enter your WiFi network password to allow the extender to connect to your router. The extender may ask you to create a name for the network you are extending, or you can keep the same.
4. After
completing the WiFi extender setup, now you can move your extender and place it
halfway between your router and the area where network is poor and range is
less. Make sure extender is still within range of router signal.
5. Now, you
can connect your devices with the new extended network, if you changed the
network name.
Note: Some extenders support
seamless roaming. Because of this feature your device will automatically switch
between the original and extended network depending on which has the stronger
signal.
6. At last
when every step is covered then you can walk around your house and check that
the extended network is covering the every area of your house.
You can even run the speed test and check the signal strength from various
locations of your house.
7.
If the
signal is weak and range is less in some spots in your house then try moving
the extender. Some extenders offer advanced settings such as adjusting signal
strength or changing the WiFi channel; you can customize those additional
settings as per your requirement.
From the above article, we have concluded that by following these steps, your WiFi extender should be set up and working to improve your network coverage.