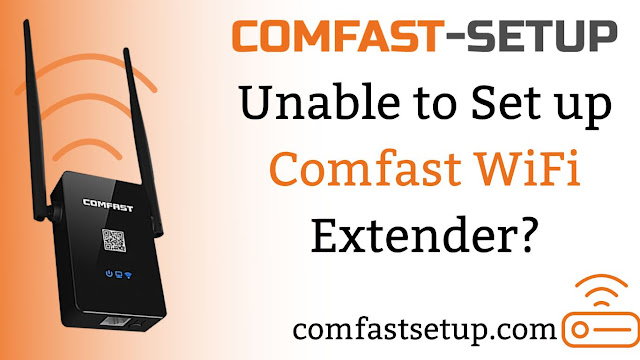
If you want to turn dead zones in your home into WiFi zones, then setting up a Comfast WiFi extender is the best option. Although the process of configuring the device is as simple as counting 123, however, some users are finding it cumbersome. If you are also standing in the line of users who are unable to install their Comfast WiFi extenders, then this write-up can solve your problem. Walk through the hacks we have penned down here and learn all about fixing Comfast WiFi extender setup issues.
How to Fix Comfast Setup Issues
Place Your Extender Rightly
If you want no fuss in the process of making your Comfast extender up and running, then you need to keep your extender in the WiFi coverage area of your router. While doing setup, you can place it in the same room where your router has already been installed. However, later the location of the device can be changed keeping your WiFi needs in mind.
Connect Devices Properly
Another possible reason that can avert you from doing a Comfast extender setup could be faulty connections. Users who have used wires to connect their WiFi devices need to confirm that no wire is torn off from any point. On the other hand, who have wirelessly connected the devices are advised to check the LED lights on the extender as well as the router and relocate the device according to their status. FYI, green lights glow when the connection is good between the router and the extender.
Update Your Internet Browser
No matter whether you are using Chrome or Edge, Safari or Firefox; you must update your web browser before initiating the process of Comfast setup. This is recommended because you cannot access the default IP address of your Comfast extender with the use of an outdated web browser. Besides, you can also wipe off the cache and cookies from your browser to keep the further setup-related issue at bay.
Enter IP Address Correctly
A single typo in the IP address of your Comfast can drag you to the issue at hand. Hence, enter the IP address to its respective field with open eyes. Also, if you are not confirmed about the default IP address of your Comfast extender, get access to the user manual of your device for help.
Login Details Should Be Checked
Users may also find themselves trapped in setup issues if the login details used for the process are not up to the mark. Default admin login details of Comfast extenders are case-sensitive. Hence, keep the Caps Lock key turned off while entering the details. Also, make sure you do not make any typing errors as recommended with the usage of the IP address.
Follow Proper Steps
Last but not least you might not be following the proper steps when it comes to installing your Comfast extender. If that is the case, head towards the next section and learn how to set up a Comfast WiFi extender.
Steps to Set up Comfast WiFi Extender
- Once you have unpacked the extender, place it near your router.
- Connect one end of an Ethernet cable to the port of your Comfast extender and the other one to the port of your home WiFi router.
- As soon as you are done connecting your devices, get access to the power adapter of your Comfast extender and plug it into a wall outlet.
- Turn on the power button and wait for the LED light on your device to turn on.
- Done with the above steps? Great now turn on your computer.
- Access the web browser of your choice.
- Enter the default IP address into the URL field.
- Access the login page of your Comfast by hitting the Enter key.
- Type default login details and hit Log In.
- Comfast WiFi extender setup wizard will come into view.
- Hover to the settings and select your router’s network.
- Proceed further by following on-screen prompts and completing the setup process of your Comfast extender.
That’s all for now! We have explained everything about how to do Comfast extender setup and fix related issues. It is expected that your extender will now give you access to high-speed internet in all areas of your home.

